How to scan and repair Windows system filesUpdated 5 months ago
If your Windows installation feels unstable, crashes unexpectedly, or certain features stop working, there may be corrupted system files causing the issue. Fortunately, Windows includes built-in tools that can scan for and repair these files. In this guide, we’ll show you how to use the DISM (Deployment Imaging Service and Management) and SFC (System File Checker) commands.
Running these tools in sequence will check the health of your system image, repair any damaged files, and restore stability to Windows.
STEPS
- Open the Start Menu and type "cmd", then tight-click Command Prompt and select Run as administrator
- Copy and paste the following command into the Command Prompt window: “DISM /Online /Cleanup-Image /CheckHealth” and press Enter. This will command the DISM tool to do a quick sweep of the system and verify any corrupted data
- Next, copy and paste the following command into the Command Prompt window: “DISM /Online /Cleanup-Image /ScanHealth” and press Enter. This will take some time, but it will identify the specific file corruption
- Next, copy and paste the following command into the Command Prompt window: “DISM /Online /Cleanup-Image /RestoreHealth” and press Enter. Just like ScanHealth, this process will take some time, and it may appear to be frozen when you see the progress bar stop for a while. But trust the system — it’s downloading and replacing the corrupted files
- Finally, copy and paste the following command: "sfc /scannow" and press Enter. This will do a sweep of everything and repair any system files using your (now fixed) local image files.
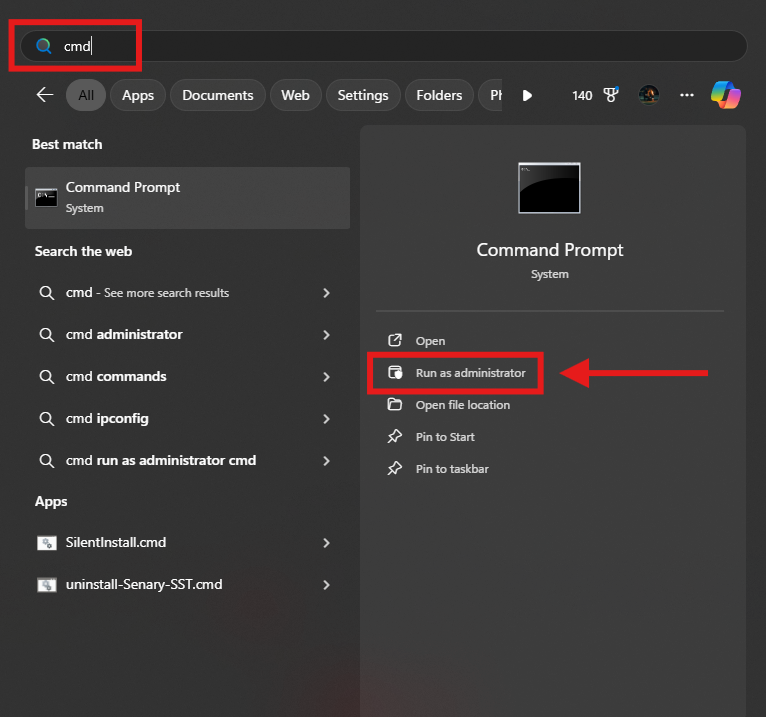 Start Menu search for CMD, with a Run as administrator option on the right
 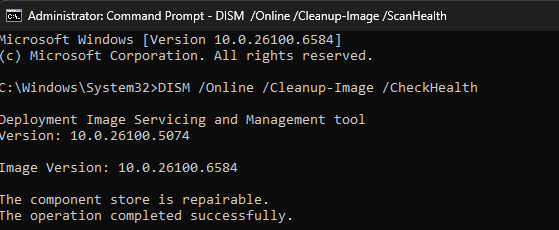 Command: DISM /Online /Cleanup-Image /CheckHealth
 Command: DISM /Online /Cleanup-Image /ScanHealth
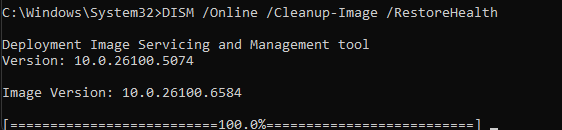 Command: DISM /Online /Cleanup-Image /RestoreHealth
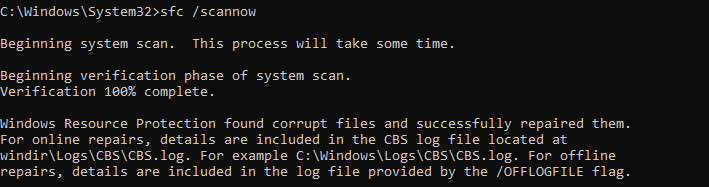 Command: sfc /scannow