How to reseat your graphics cardUpdated 5 months ago
Reseating your graphics card is a step to take when experiencing issues like flickering screens, no display, or crashes during gaming. It’s an easy task for first-time PC users to get their system running smoothly again.
Let’s dive into the simple steps to reseat your GPU!
SAFTEY TIP #1 | SAFTEY TIP #2 |
Whenever you work on a computer, you should be on a static-free surface, and especially not on carpet. | Touch a grounded metal part of the case to discharge static electricity before handling components. |
VIDEO TUTORIAL
The video above is a video tutorial of how to reseat your graphics card. Please note that the video walkthrough may differ slightly as you may have a different case, size of graphics card, or different power connections going to the graphics card, but the same principles apply.
Below we have written instructions as well if you prefer a step-by-step walkthrough.
POWER DOWN
- Start by powering down the computer. If your computer is already off, continue to the next step
- Unplug the power cable from your computer's power supply
- If applicable, flip the switch on the back of the power supply from the “I” (on) position to the “O” (off) position.
- Press the power button on your computer case down for 5 seconds to drain any residual power from the system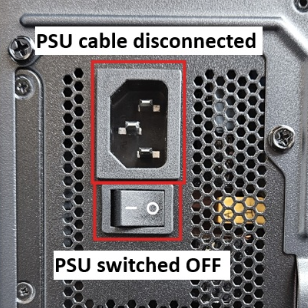 Power supply in the off position and the power cable disconnected
OPEN THE COMPUTER CASE
- Place the computer on a flat, stable surface, so that the graphics card is accessible
- Remove the side panel. Most cases have side panels that are removed by unscrewing two thumb screws at the back, and the panel will slide off.
- Some cases don't use screws; instead, the side panel is magnetized and needs to be pulled out
💡Tip: If you need assistance with removing your specific side panel for your case, please reach out to us. We are happy to help!
REMOVE THE GRAPHICS CARD
- Locate the graphics card, it is a large component connected to a PCIe slot on the motherboard (see examples below)
- Disconnect any power cables. Please note that graphics card power cables have locking mechanisms that will need to be pressed to unlock before disconnecting
- Unscrew the card from the case. Depending on the size of your graphics card, this can range anywhere between 1 and 4 screws that need to be removed.
- Locate and press the release mechanism. Some motherboards have a PCIe slot release latch, while some newer or high-end motherboards have buttons or latches located to the right side of the motherboard.
- Remove the card from the PCIe slot. Pull the graphics card straight out to ensure it is removed safely
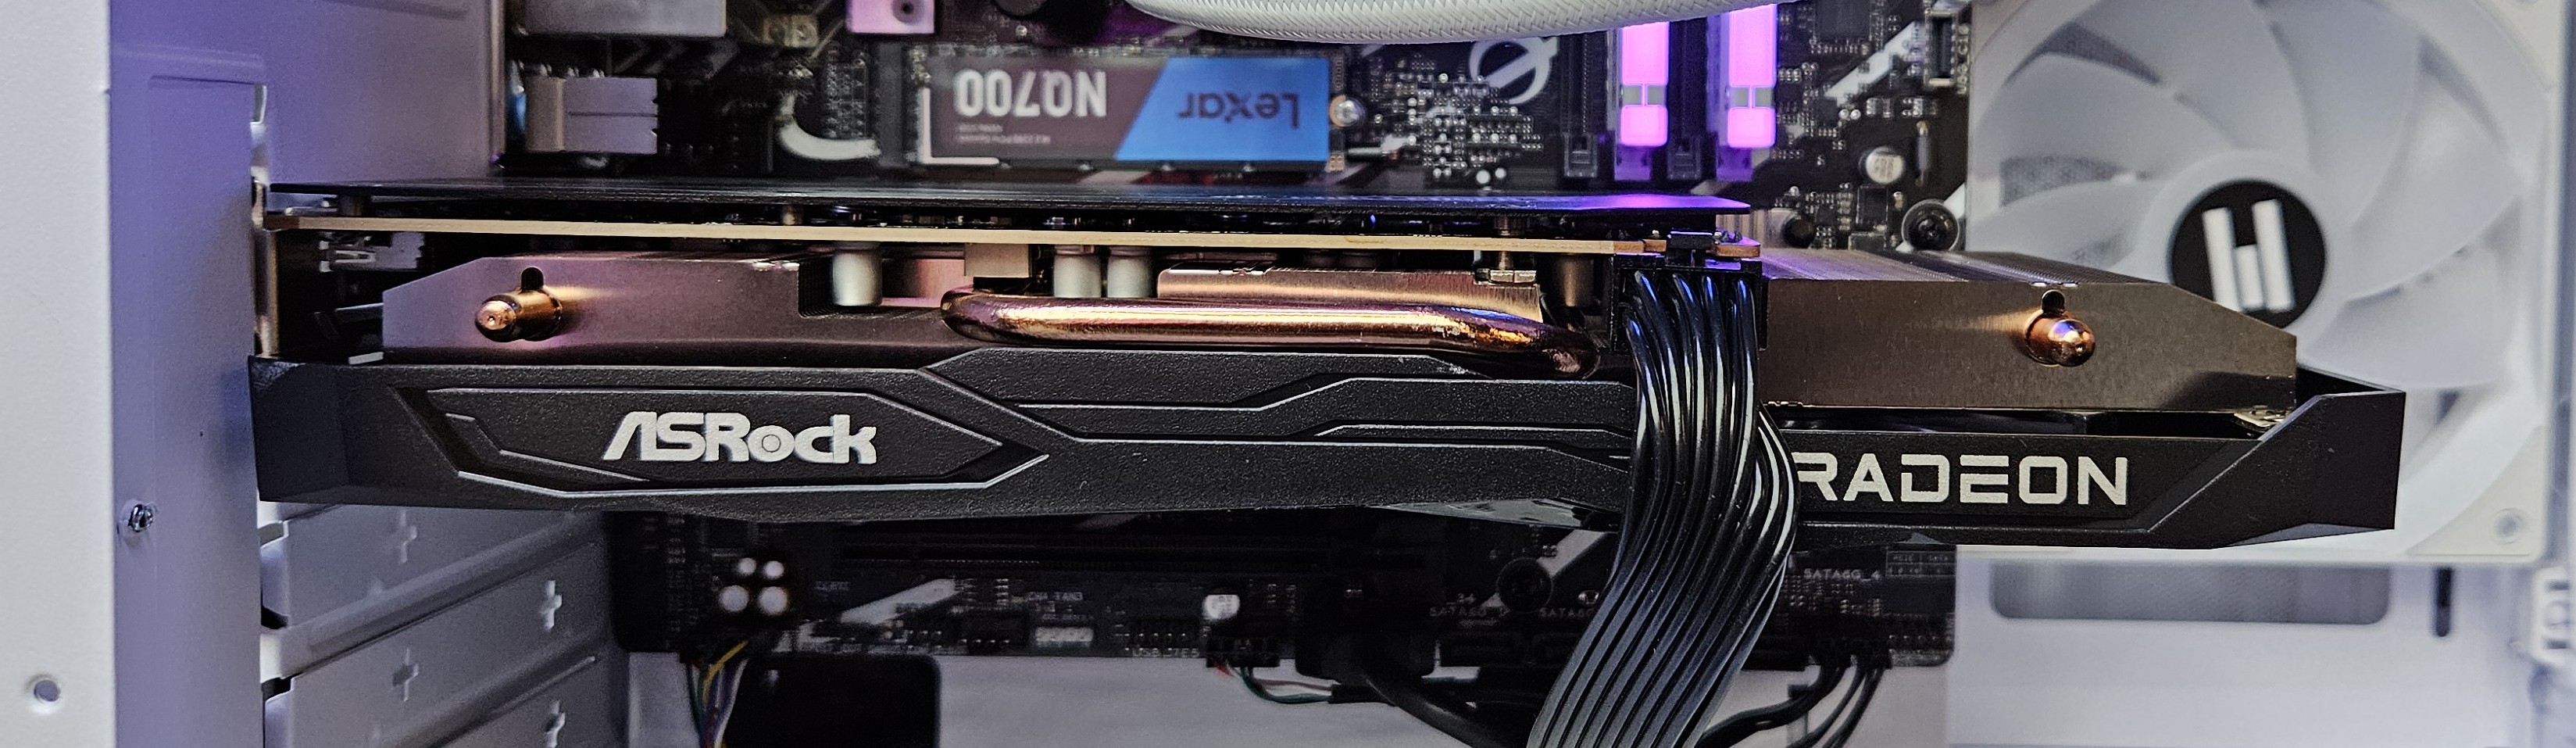
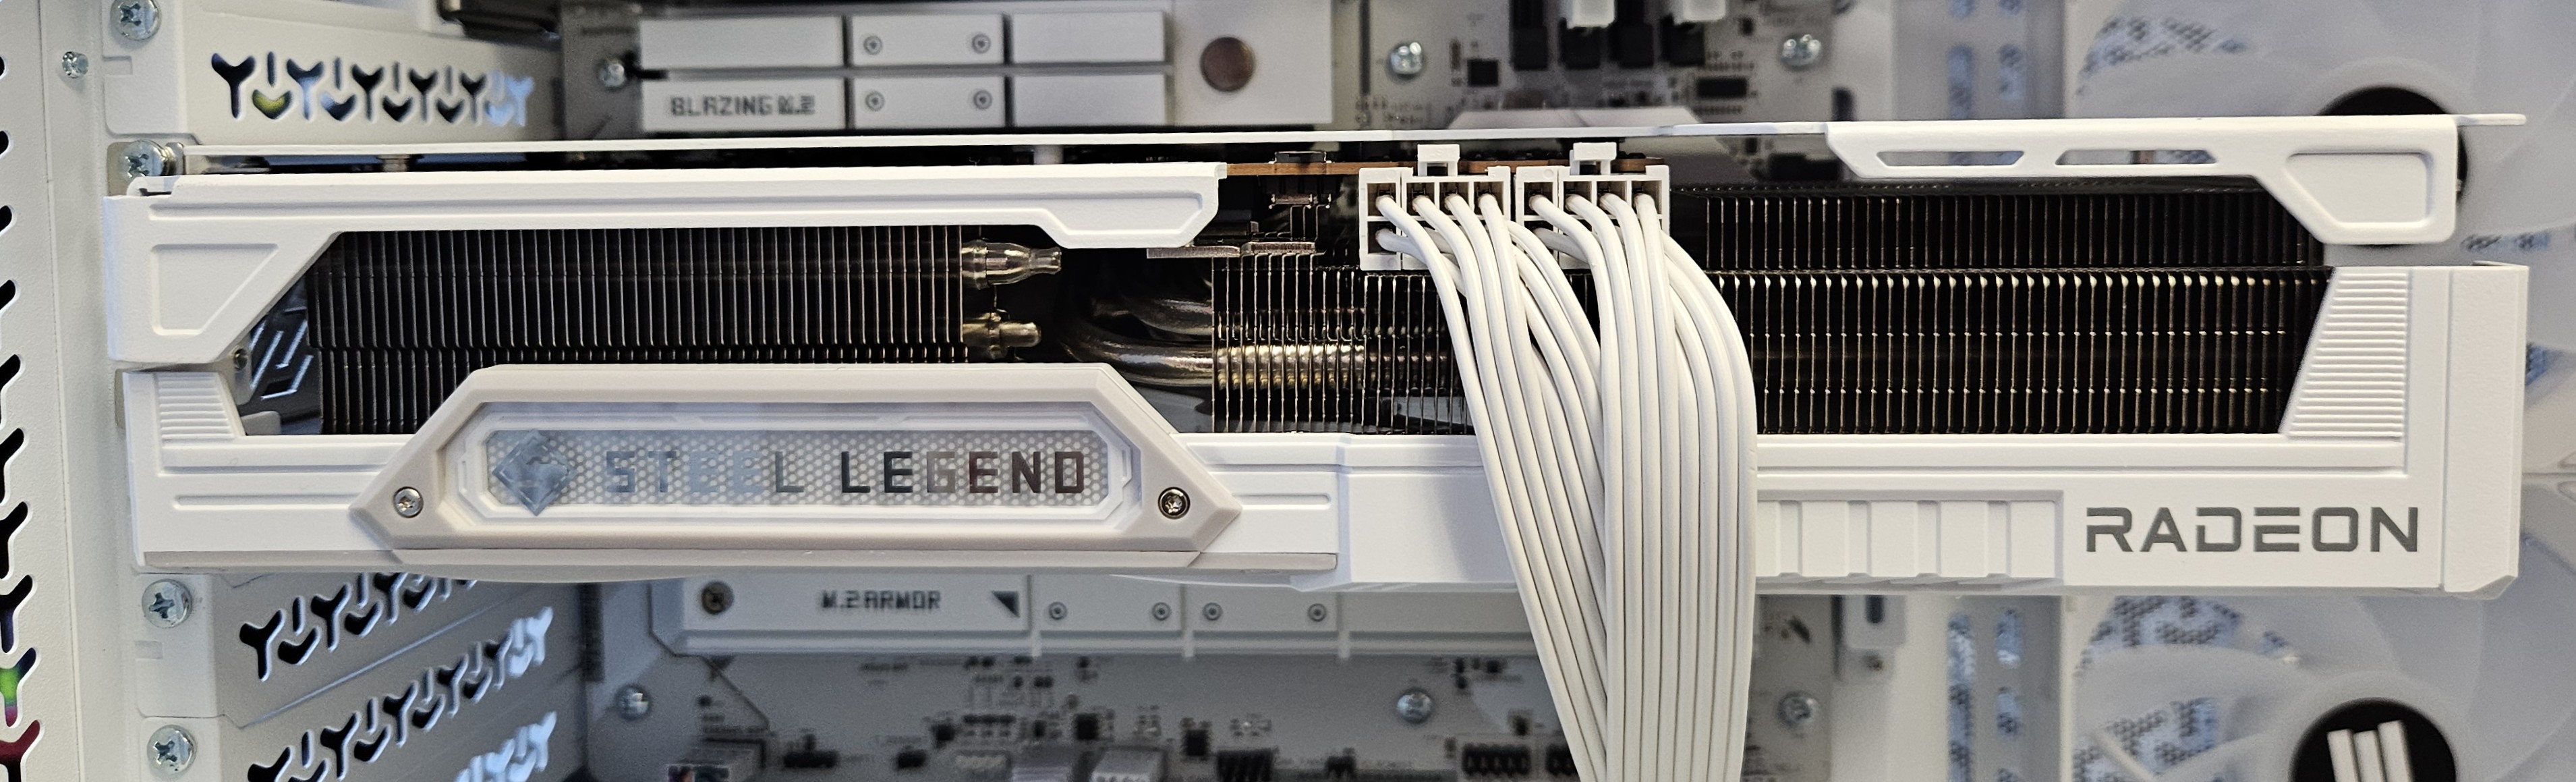
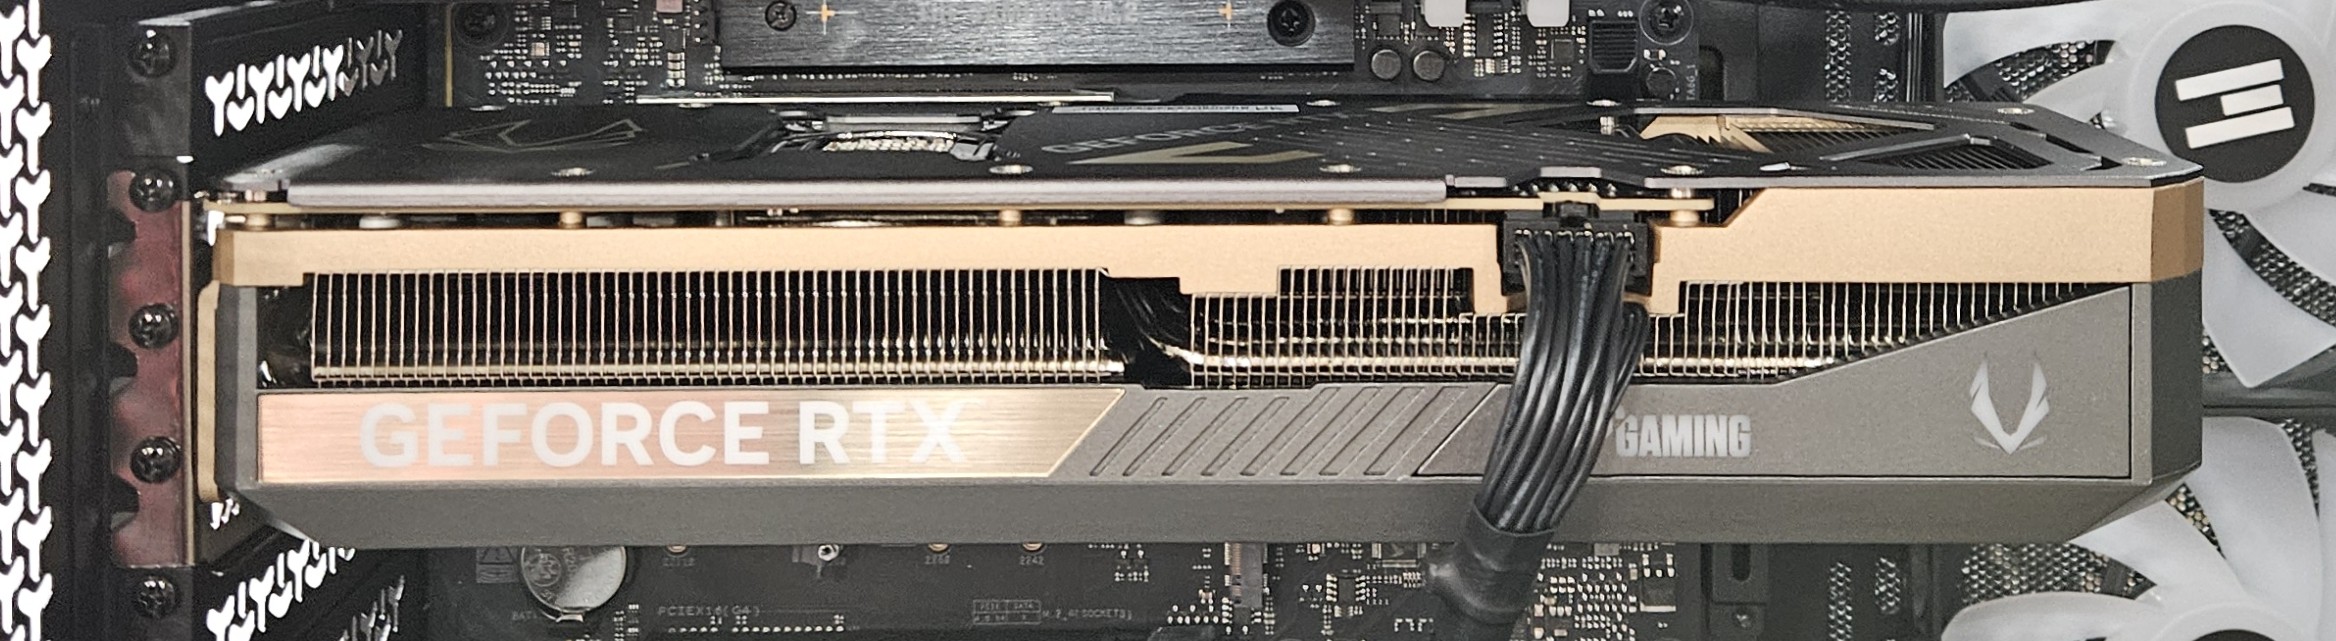
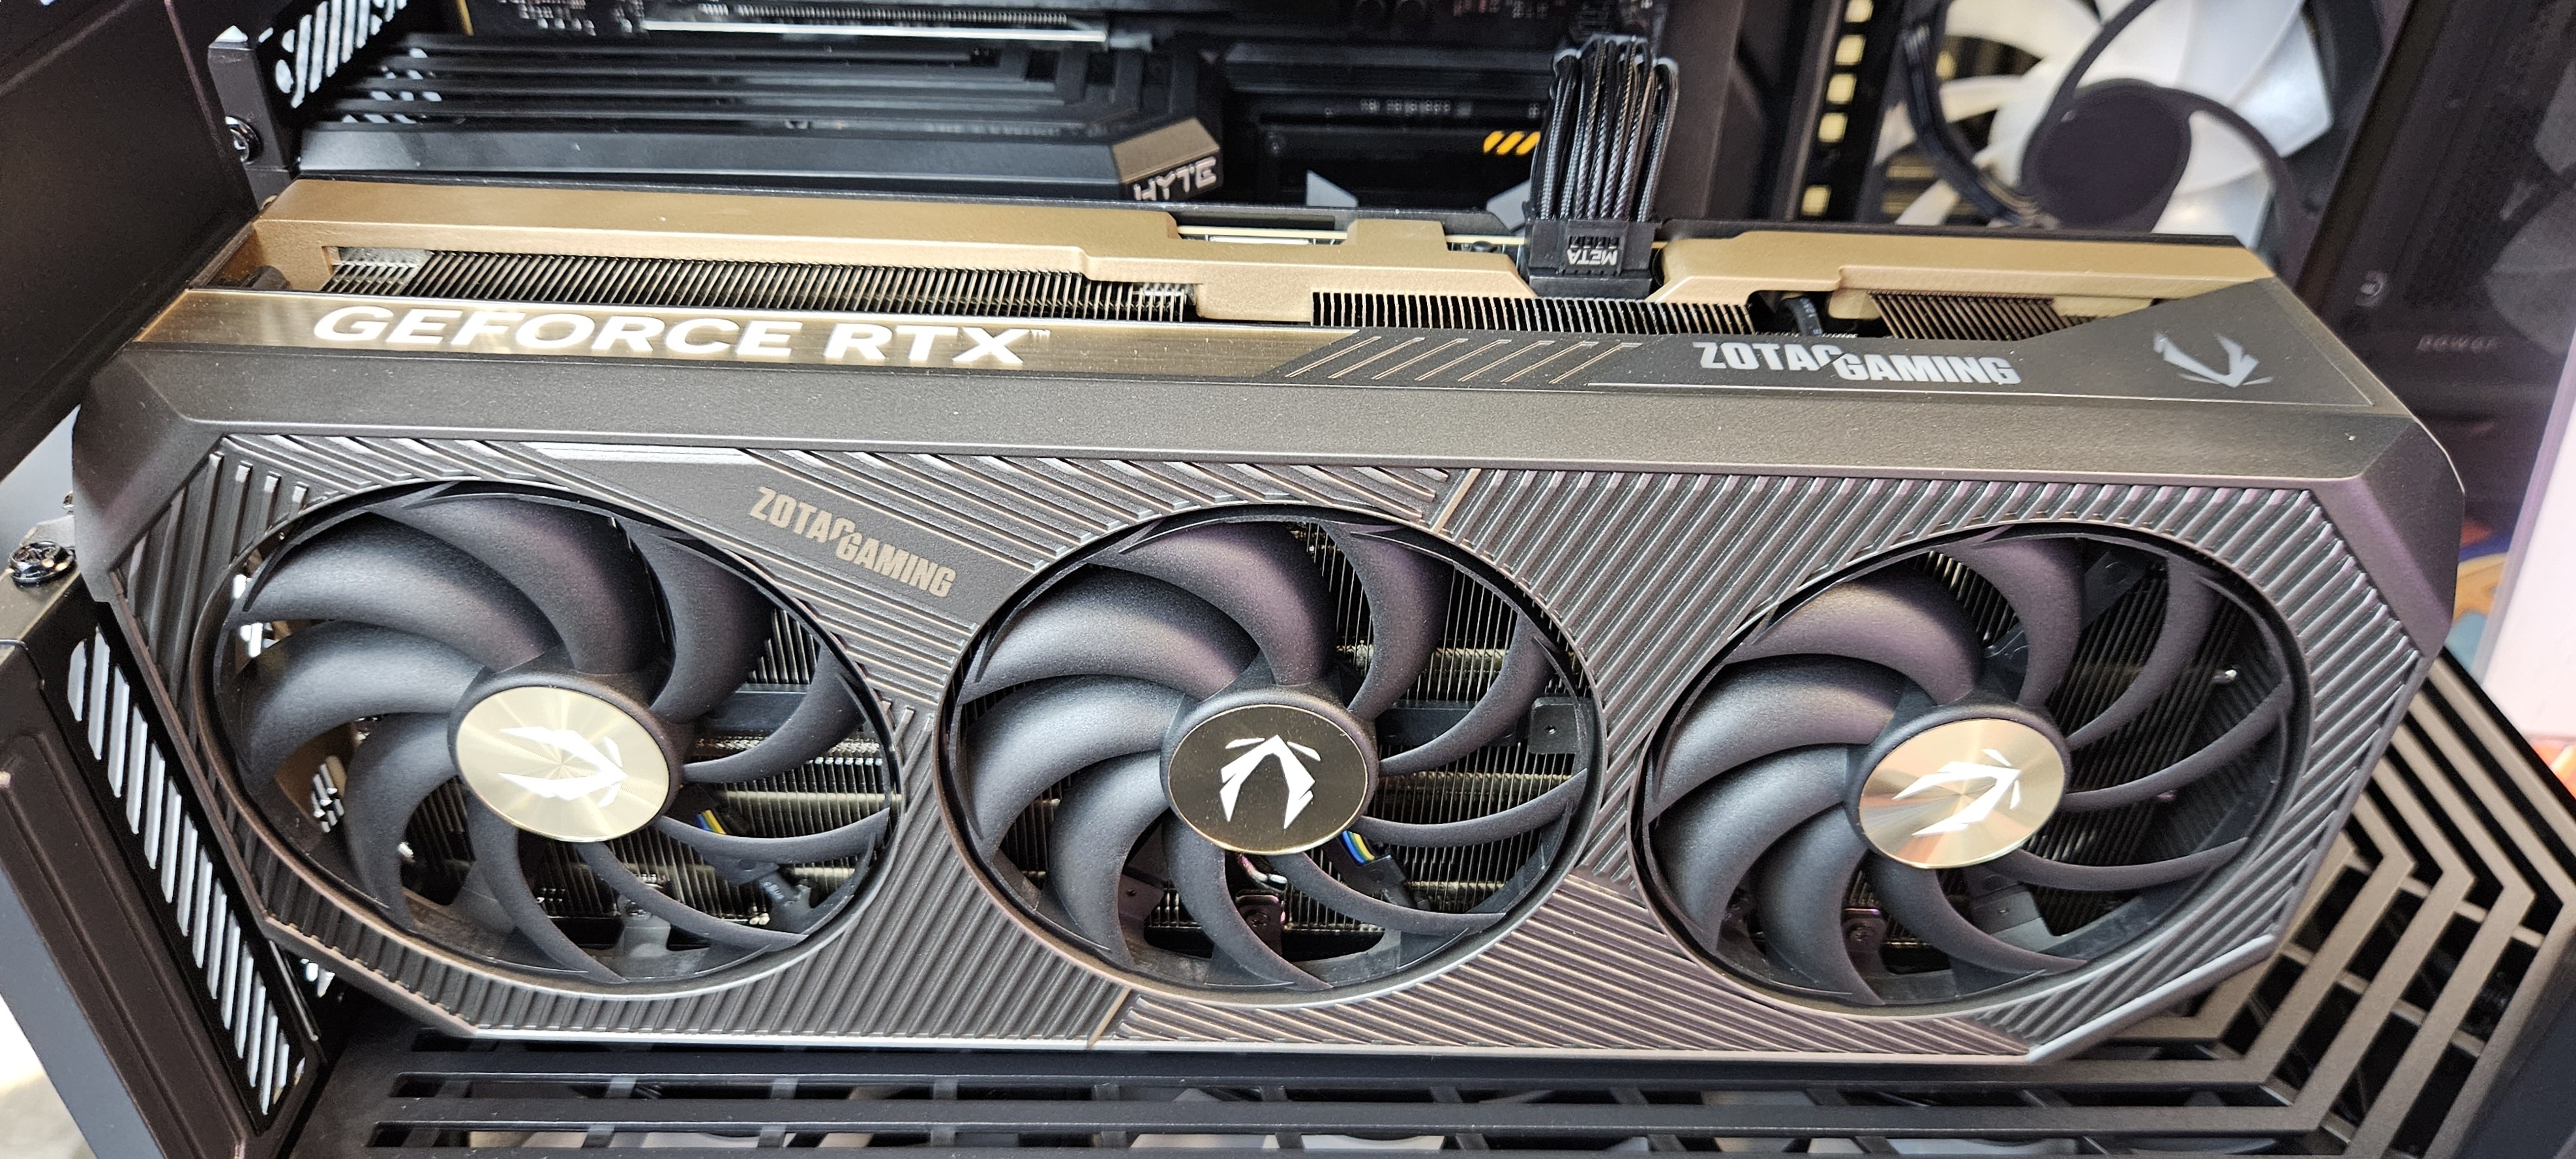 Examples of graphics cards
INSTALL THE GRAPHICS CARD
- Align the graphics card pins with the PCIe slot and ensure its metal PCIe slot bracket lines up with the case screw holes
- Slide the card into the PCIe slot and push straight down down until the graphics card locking mechanism *clicks* into place
- Reconnect the power cables to the graphics card. Please be firm as the power cable needs to be fully seated to function properly. Avoid sharp bends in the power cable as this could cause immediate or delayed issues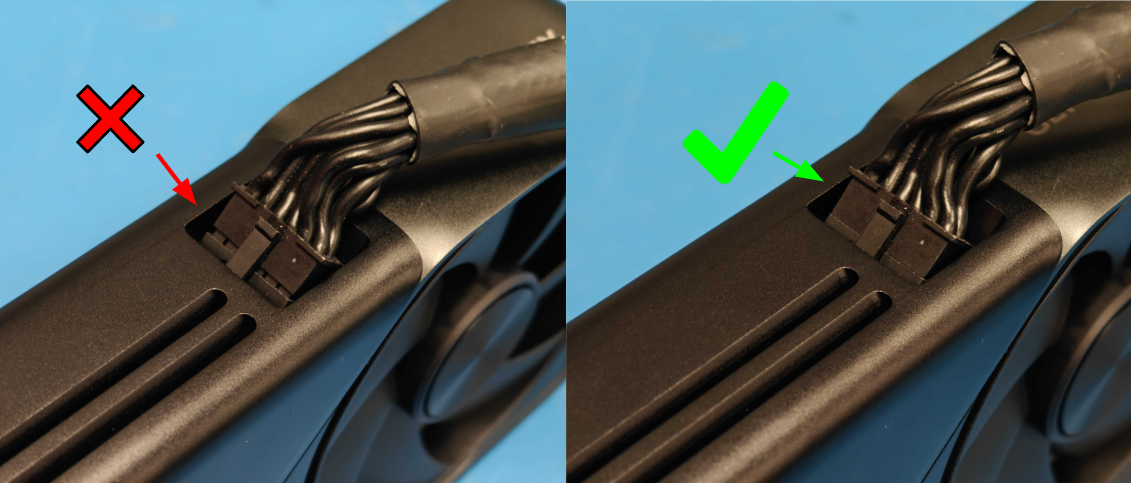
- Verify the graphics card is fully seated into the PCIe slot by pressing down on both sides of the card at the same time
- Secure the graphics card to the case with screws
💡Some power cables or locking mechanisms may not make a *click* sound. If you do not hear the sound, please verify that the cable is connected fully and the graphics card is fully seated.
FINAL STEPS AND TEST
- Install the case side panel back onto the chassis
- Plug the power cord back into the power supply and flip the PSU switch to the “I” (on) position
- Reconnect your monitors and accessories
- Boot up your system and see if your issue is resolved!